
Are you an IT Professional and being forced more into the DevOps world? It may seem scary, however it’s not that scary once you have the proper tools. The only difference is that you no longer have to stand or walk into a cold datacenter and stand in front of a server – it’s all template based using a declarative approach – you simply say how the Infrastructure should look like, then Azure Resource Manager makes it so by doing the imperative.
The new world is all about declarative language and this post will walk you through setting up all the tooling needed to achieve what you need.
Infrastructure as Code – this relates to Infrastructure, JSON templates:
- Compute
- Storage
- Virtual Networks
- Other Azure Resources
Configuration as Code – this relates to whats inside of the virtual machine, DSC (Desired State Configuration):
- PowerShell DSC
- Puppet
- Chef
Deploying Infrastructure as Code to Azure generally comprises of using VS Code to author Infrastructure as Code and VSTS for the GIT repository, build & deployment of Infrastructure as Code.
Setup Instructions
Install VS Code
Install VS Code from https://code.visualstudio.com. Then install the following VS Code extensions:
- Azure Resource Manager Tools by Microsoft – required
- Azure Repos by Microsoft – required
- GitHub by KnisterPeter
- JSON Tools by Erik Lynd – not required, but makes life heaps easier to author JSON templates, it displays a tree view of your JSON template.
- PowerShell by Microsoft
- Azure Account by Microsoft
- Azure Storage Explorer by Jun Han
- Kubernetes by Microsoft
- Azure Functions by Microsoft
To install extensions, click the icon below in VS Code:

Restart VS Code after installing extensions….
VS Code | Keyboard reference / Tips & Tricks
Keyboard Reference Sheets:
|
Windows |
|
|
MacOS |
|
|
Linux |
JSON User Snippets File | VS Code
Making your life much easier for writing and authoring Azure Resource Manager JSON templates….. As well as the JSON Tools Extension install above, copy the contents of this file from the azure-xplat-arm-tooling GitHub repo to your clipboard (CTRL-C).
Launch VS Code > navigate to File > Preferences > User Snippets > JSON. Paste the contents of the clipboard into your user snippets file before the final “}“. Save and close the JSON user snippets file.
Next time you’re editing/authoring JSON templates, type ‘arm‘ then magic happens:

I’m also told there is an extension for user Snippets which you can install to avoid the above manual process. Azure Resource Manager Snippets. Snippets include:
- Skeleton ARM Template
- Windows and Linux Virtual Machines
- Azure Web Apps
- Azure SQL
- Virtual Networks, Subnets and NSG’s
- Keyvault
- Network Interfaces and IP’s
- Redis
- Application Insights
- DNS
- Azure Container Instances
- Cosmos DB
- Azure Automation
- Azure Kubernetes Service (AKS)
Install GIT
Install Git for Windows
- Remove all Explorer integrations, file associations, and use Command Prompt as the shell
- Deselect the check boxes for Windows Explorer integration and file associations
- Use Git from the Windows Command Prompt (default)
- Use OpenSSH (default)
- Use the OpenSSL library (default)
- Checkout Windows-style, commit Unix-style endings (default)
- User Windows’ default console window
- Retain all extra options (caching, Git Credential Manager, symbolic links)
- Check git works in PowerShell (or Command Prompt)
Configure GIT
- Logon to VSTS / Sign-up for VSTS, online here.
- Create a new project e.g. (Project X)

- You need to grab the URI from the project, this will be displayed immediately after creation of the project.

- On Windows, create a directory in your Documents folder called ‘repo‘.
- Using Git Bash, navigate to this newly created directory (C:\Users\{marc.kean}\Documents\repo) as per the below:

- From Git Bash, run the following. Replace the URI shown with your project URI.
git clone https://marcmicrosoft.visualstudio.com/Project%20X/_git/Project%20X

- If you have issues connecting outbound, i.e. if your company uses a proxy, you’ll need to set the proxy settings for GIT.
git config --global http.proxy 192.168.1.1:8080
- Ignore the message about the empty directory. This GIT cloning process will ask you to sign into VSTS and will also create the VSTS Personal Access Token needed for the automatic authentication from GIT on your Windows computer to VSTS.
- Replace the IP address & port with your own details.
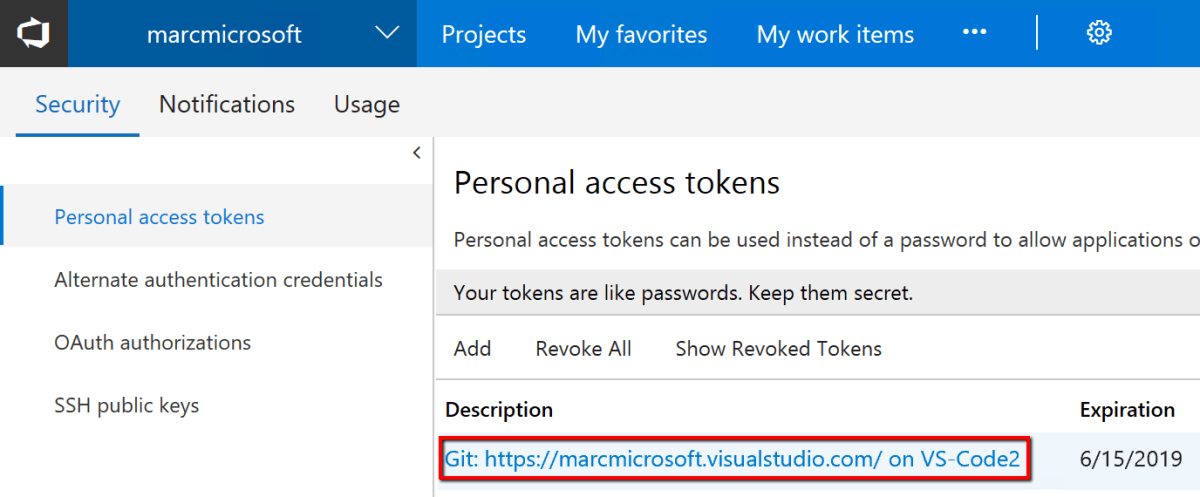
This is a similar process to the YouTube video Set up the Team Services extension for Visual Studio Code which shows another way to create the Personal Access Token.The Personal Access Token is also stored in the local Windows Credential Manager:
Putting it all together
- From Git Bash, run the below command to add your VSTS user name (email address) in your global git config – this is to associate commits pushed from the VS Code or the command line with your Git account.
$ git config --global user.email "{xxxxx@xxxxxxxxx.com}"
- This also marries up with the entry in Windows Credential Manager.
- Open this folder (C:\Users\{marc.kean}\Documents\repo\Project%20X)
- Create a new blank JSON file inside your folder.

- Paste in a sample blank JSON payload file (below) and save to the file
{
"$schema": "https://schema.management.azure.com/schemas/2015-01-01/deploymentTemplate.json",
"contentVersion": "1.0.0.0",
"parameters": {
},
"variables": {
},
"resources": [
],
"outputs": {
}
}
- Now go to Source Control as shown below:

- Now locally commit your code as shown below

VS Code | Personal Access Token
- Use VS Code shortcut button “CTRL + Shift + P” or go to View > Command Pallet. Type “Sign-in” -> select “team: sign-in” from the list in VS Code. This will give you two options.Provide an access token manually (current experience)
Authenticate and get an access token automaticaly (new experence)
- Select the new experience for device login option. Copy (CTRL-C) the code and hit enter to be taken to the logon screen for VSTS.
- If you can’t connect i.e. if your company uses a proxy server to connect to the internet, you need to allow proxy settings on VS Code by editing the user settings. Replace proxy settings with your proxy server.
{
"http.proxy": "http://192.168.1.1:8080",
"https.proxy": "http://192.168.1.1:8080",
"http.proxyStrictSSL": false
}

Similar to GIT, this will setup the Personal Access Token for VSTS.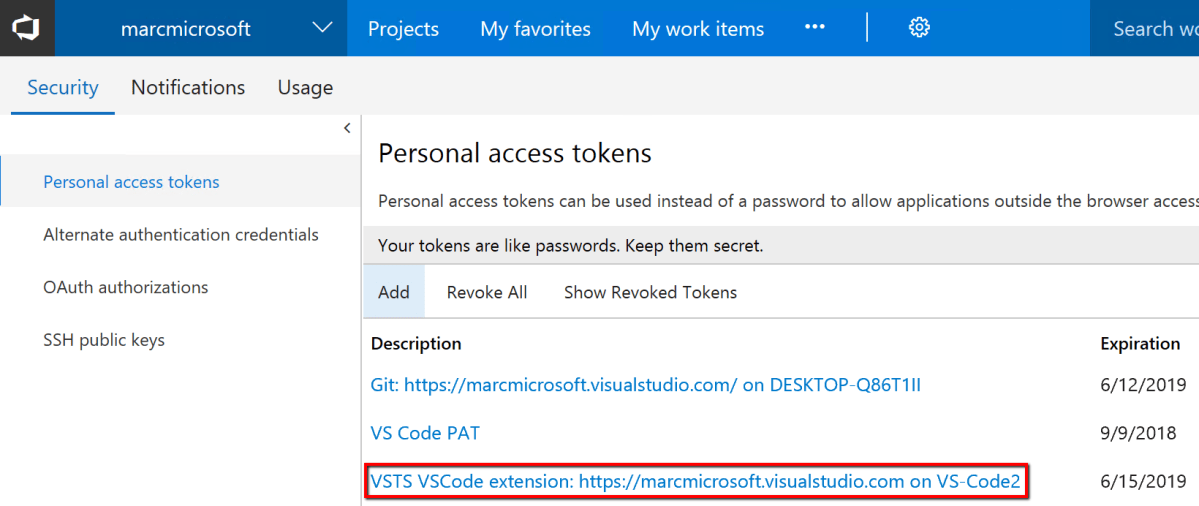

You’ll know VS Code is all configured, everything looks happy on the bottom left of VS Code:
Operations
Once it’s all setup, each time you make a change in VS Code, make a comment and commit locally.

Then push changes to VSTS.

